

Fitting and use
How it works
Four seconds. That is the rule.
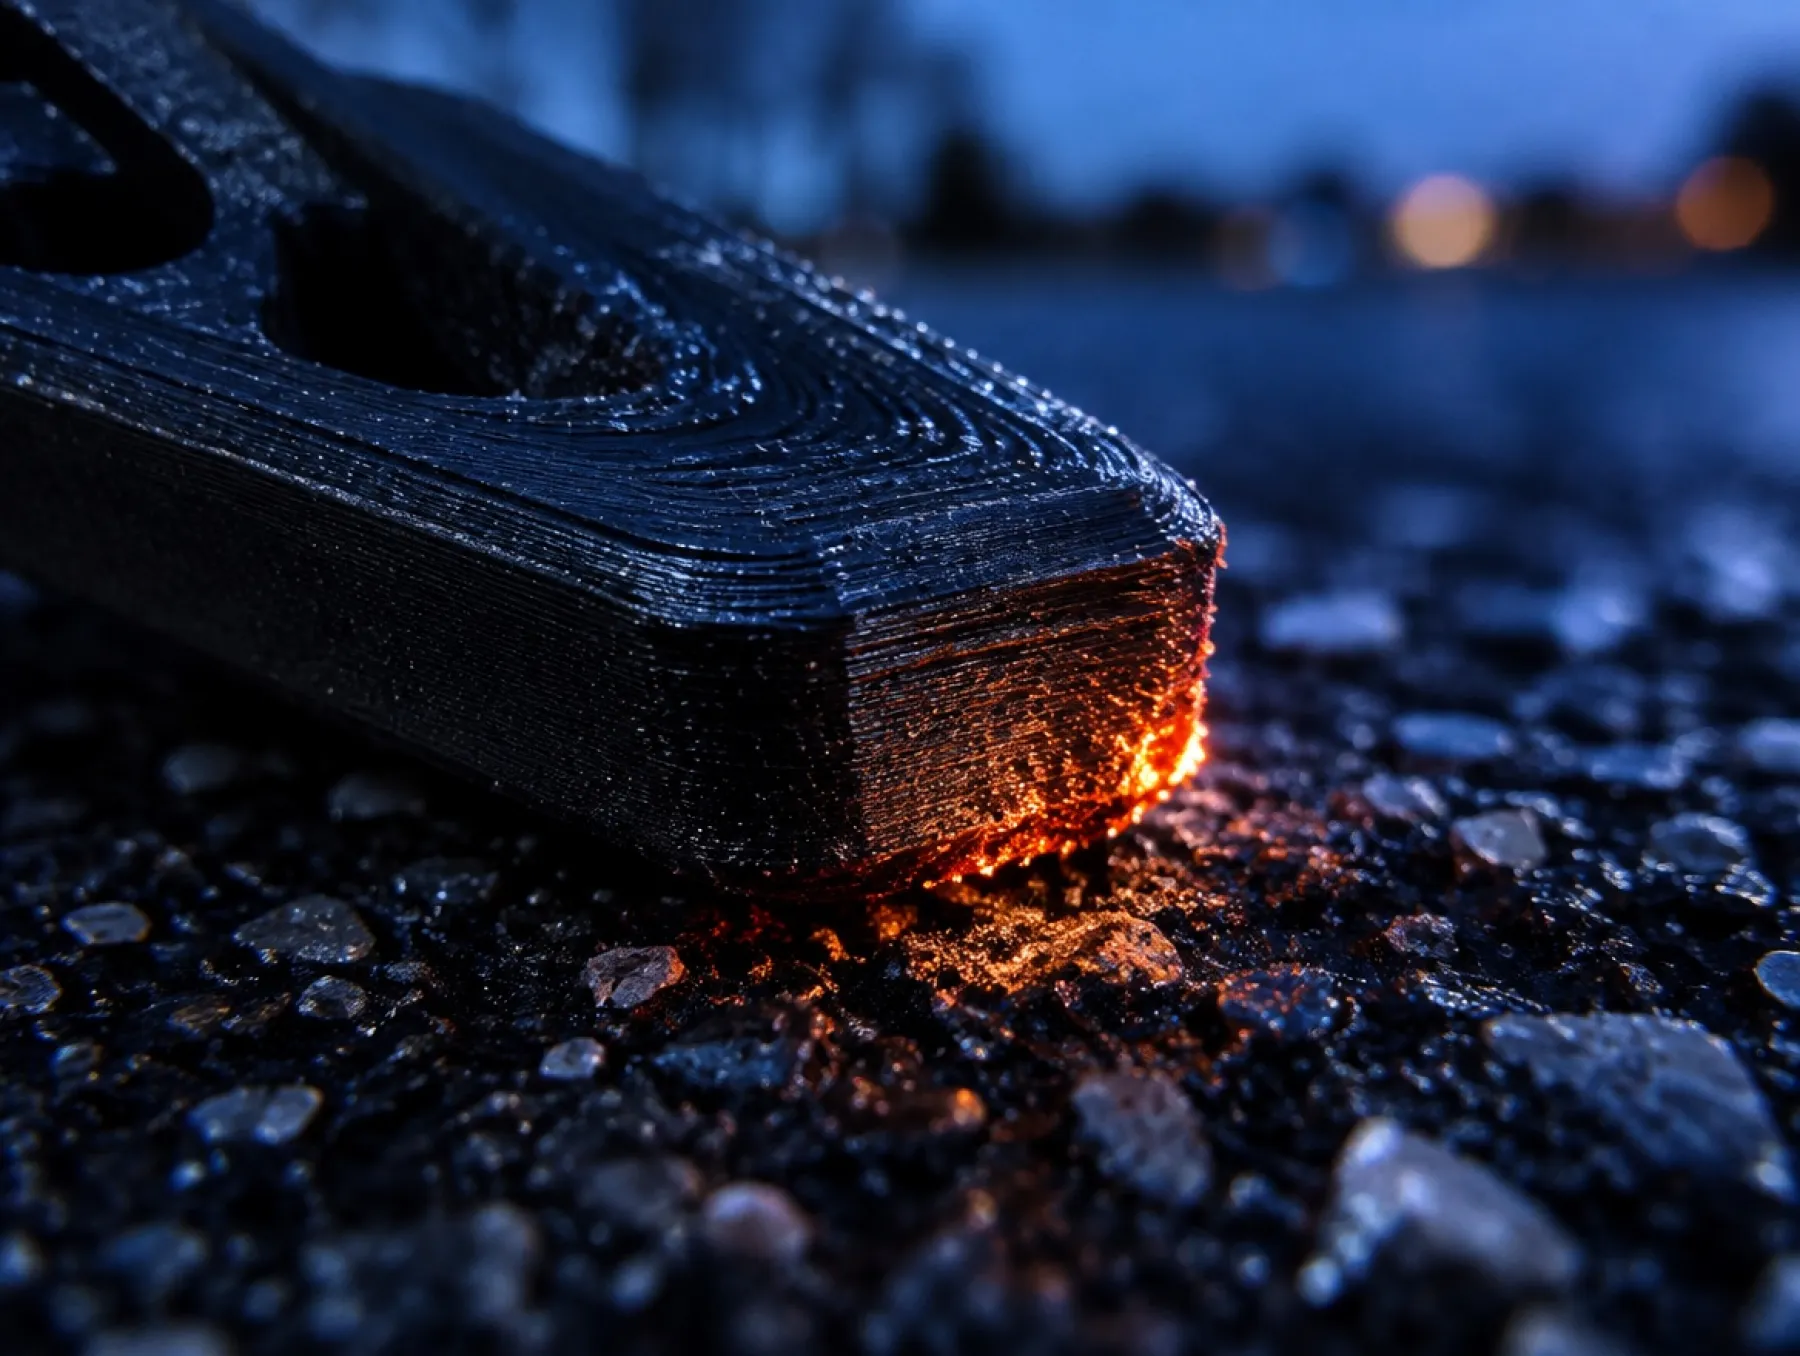
A slider gets hot. Very hot. So you work in cycles: four seconds of contact at most, then five seconds of cooldown. Stick to that and you get the most out of every slider. Ignore it and the slider is gone within one session.
4 SEC
Four seconds of contact with the asphalt at most.
5 SEC
Then at least five seconds of cooldown.
REPEAT
As long as the slider has material left. Then replace it as a whole.
Fitting the knee slider in five steps
You need: your leather suit or boot, isopropyl alcohol, a clean cloth, superglue (cyanoacrylate) and a day of patience. The mount is permanent: the slider stays put until it is used up. So pick your position once, and pick it well.
-
01
Find the position
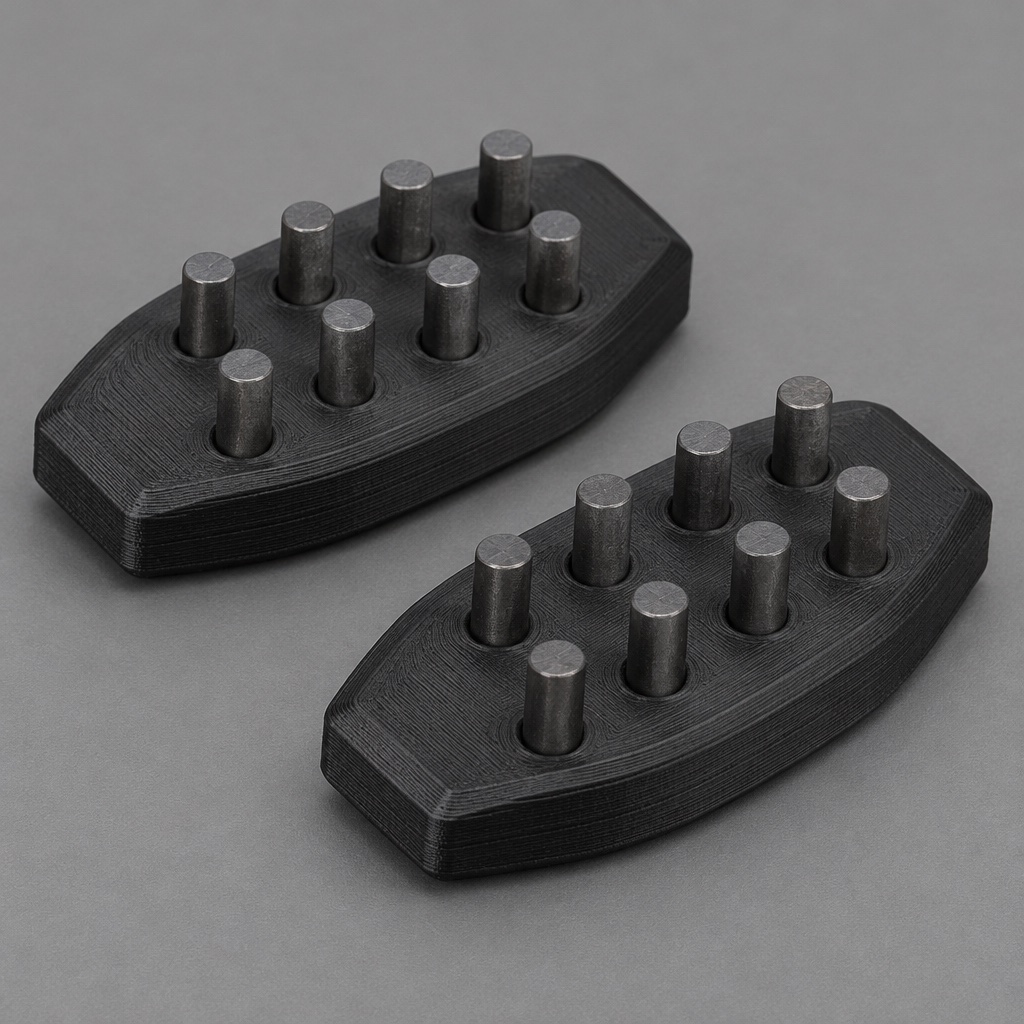
Put your suit on and sit in riding position. Dry-fit the slider, no glue yet. Mark where your current knee puck touches the asphalt. That is where the spark slider goes.
-
02
Clean and degrease the surface
Remove dust, rubber and old glue. Degrease the surface with isopropyl alcohol and let it dry completely. Glue only bonds to a clean, dry, degreased surface.
-
03
Apply the superglue
Apply superglue to the base of the slider. Thin, and across the whole surface. Too much glue bonds worse and runs. Superglue bonds skin instantly: wear gloves and keep it away from your eyes.
-
04
Place and press
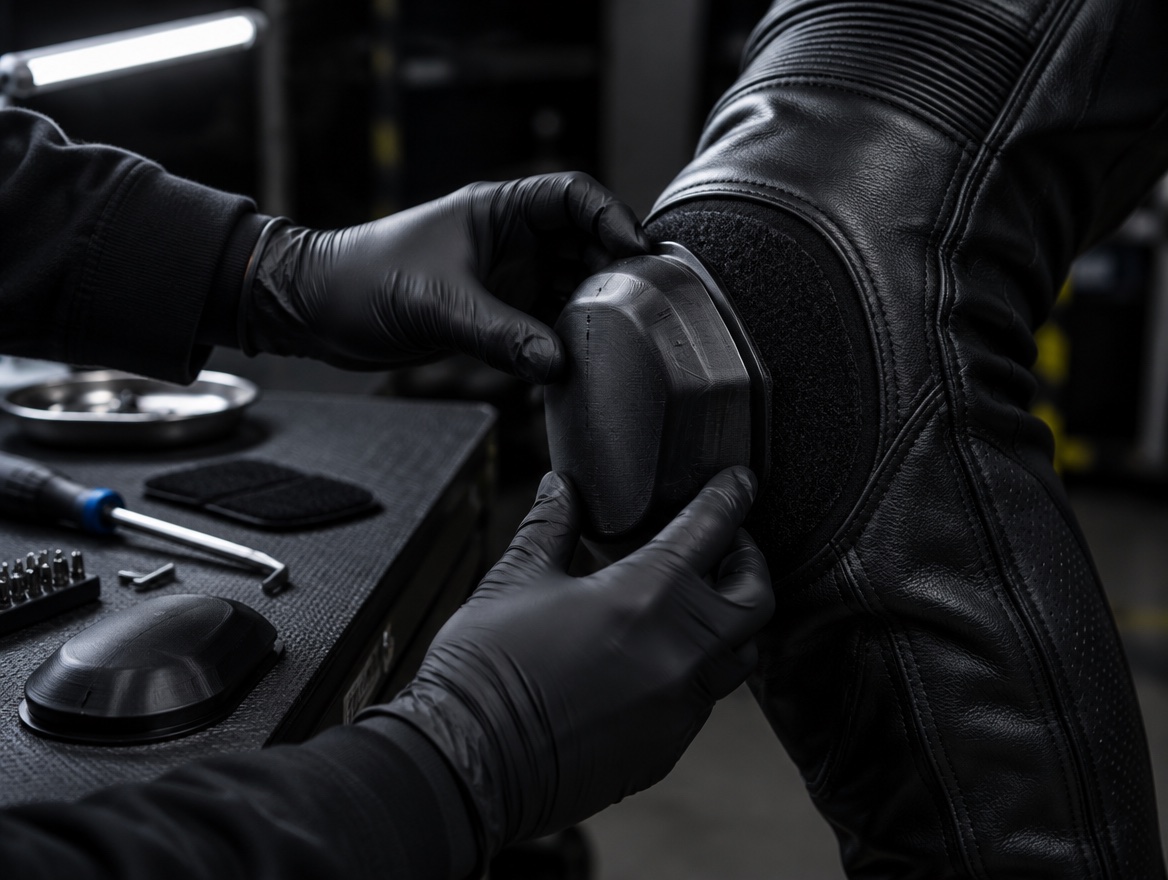
Put the slider on the marked spot in one go and press it down firmly across the whole surface for 60 seconds. Let it cure for 24 hours before you ride.
-
05
Test on a closed course
Pull on it before you put the suit on. Ride the first lap gently and feel whether the slider stays put. Always on a closed course or private property, never on a public road. From then on the 4-second rule applies: four seconds of contact at most, then five seconds of cooldown. When it is gone, replace the slider as a whole.

Other sliders
Toe, elbow and tail
Toe slider. Glue it onto the toe of your boot, on the existing slider plate. Same mounting: clean, degrease, superglue, cure for 24 hours. Same rule: four seconds, then cooldown.
Elbow slider. Only for riders who already get their elbow down. Fitting is identical to the knee slider.
Tailscraper. Mount at the rear of the bike so it only touches the asphalt at full lean. Check your chain tension and tyres before you ride.
Warning
Before you ride
Warning
Before you ride
- 01 Generates sparks that can ignite flammable material. Keep away from fuel, dry grass and spectators.
- 02 Eye protection is mandatory. Visor down, for the pillion too.
- 03 A slider gets hot. Do not touch it with bare hands after use.
- 04 Check before every session that the slider is still firmly attached.
Ready to start?
The Starter Kit is one knee slider set. Everything you need for your first track day.